This Monday marks the first day of Fall - the Autumn Equinox!
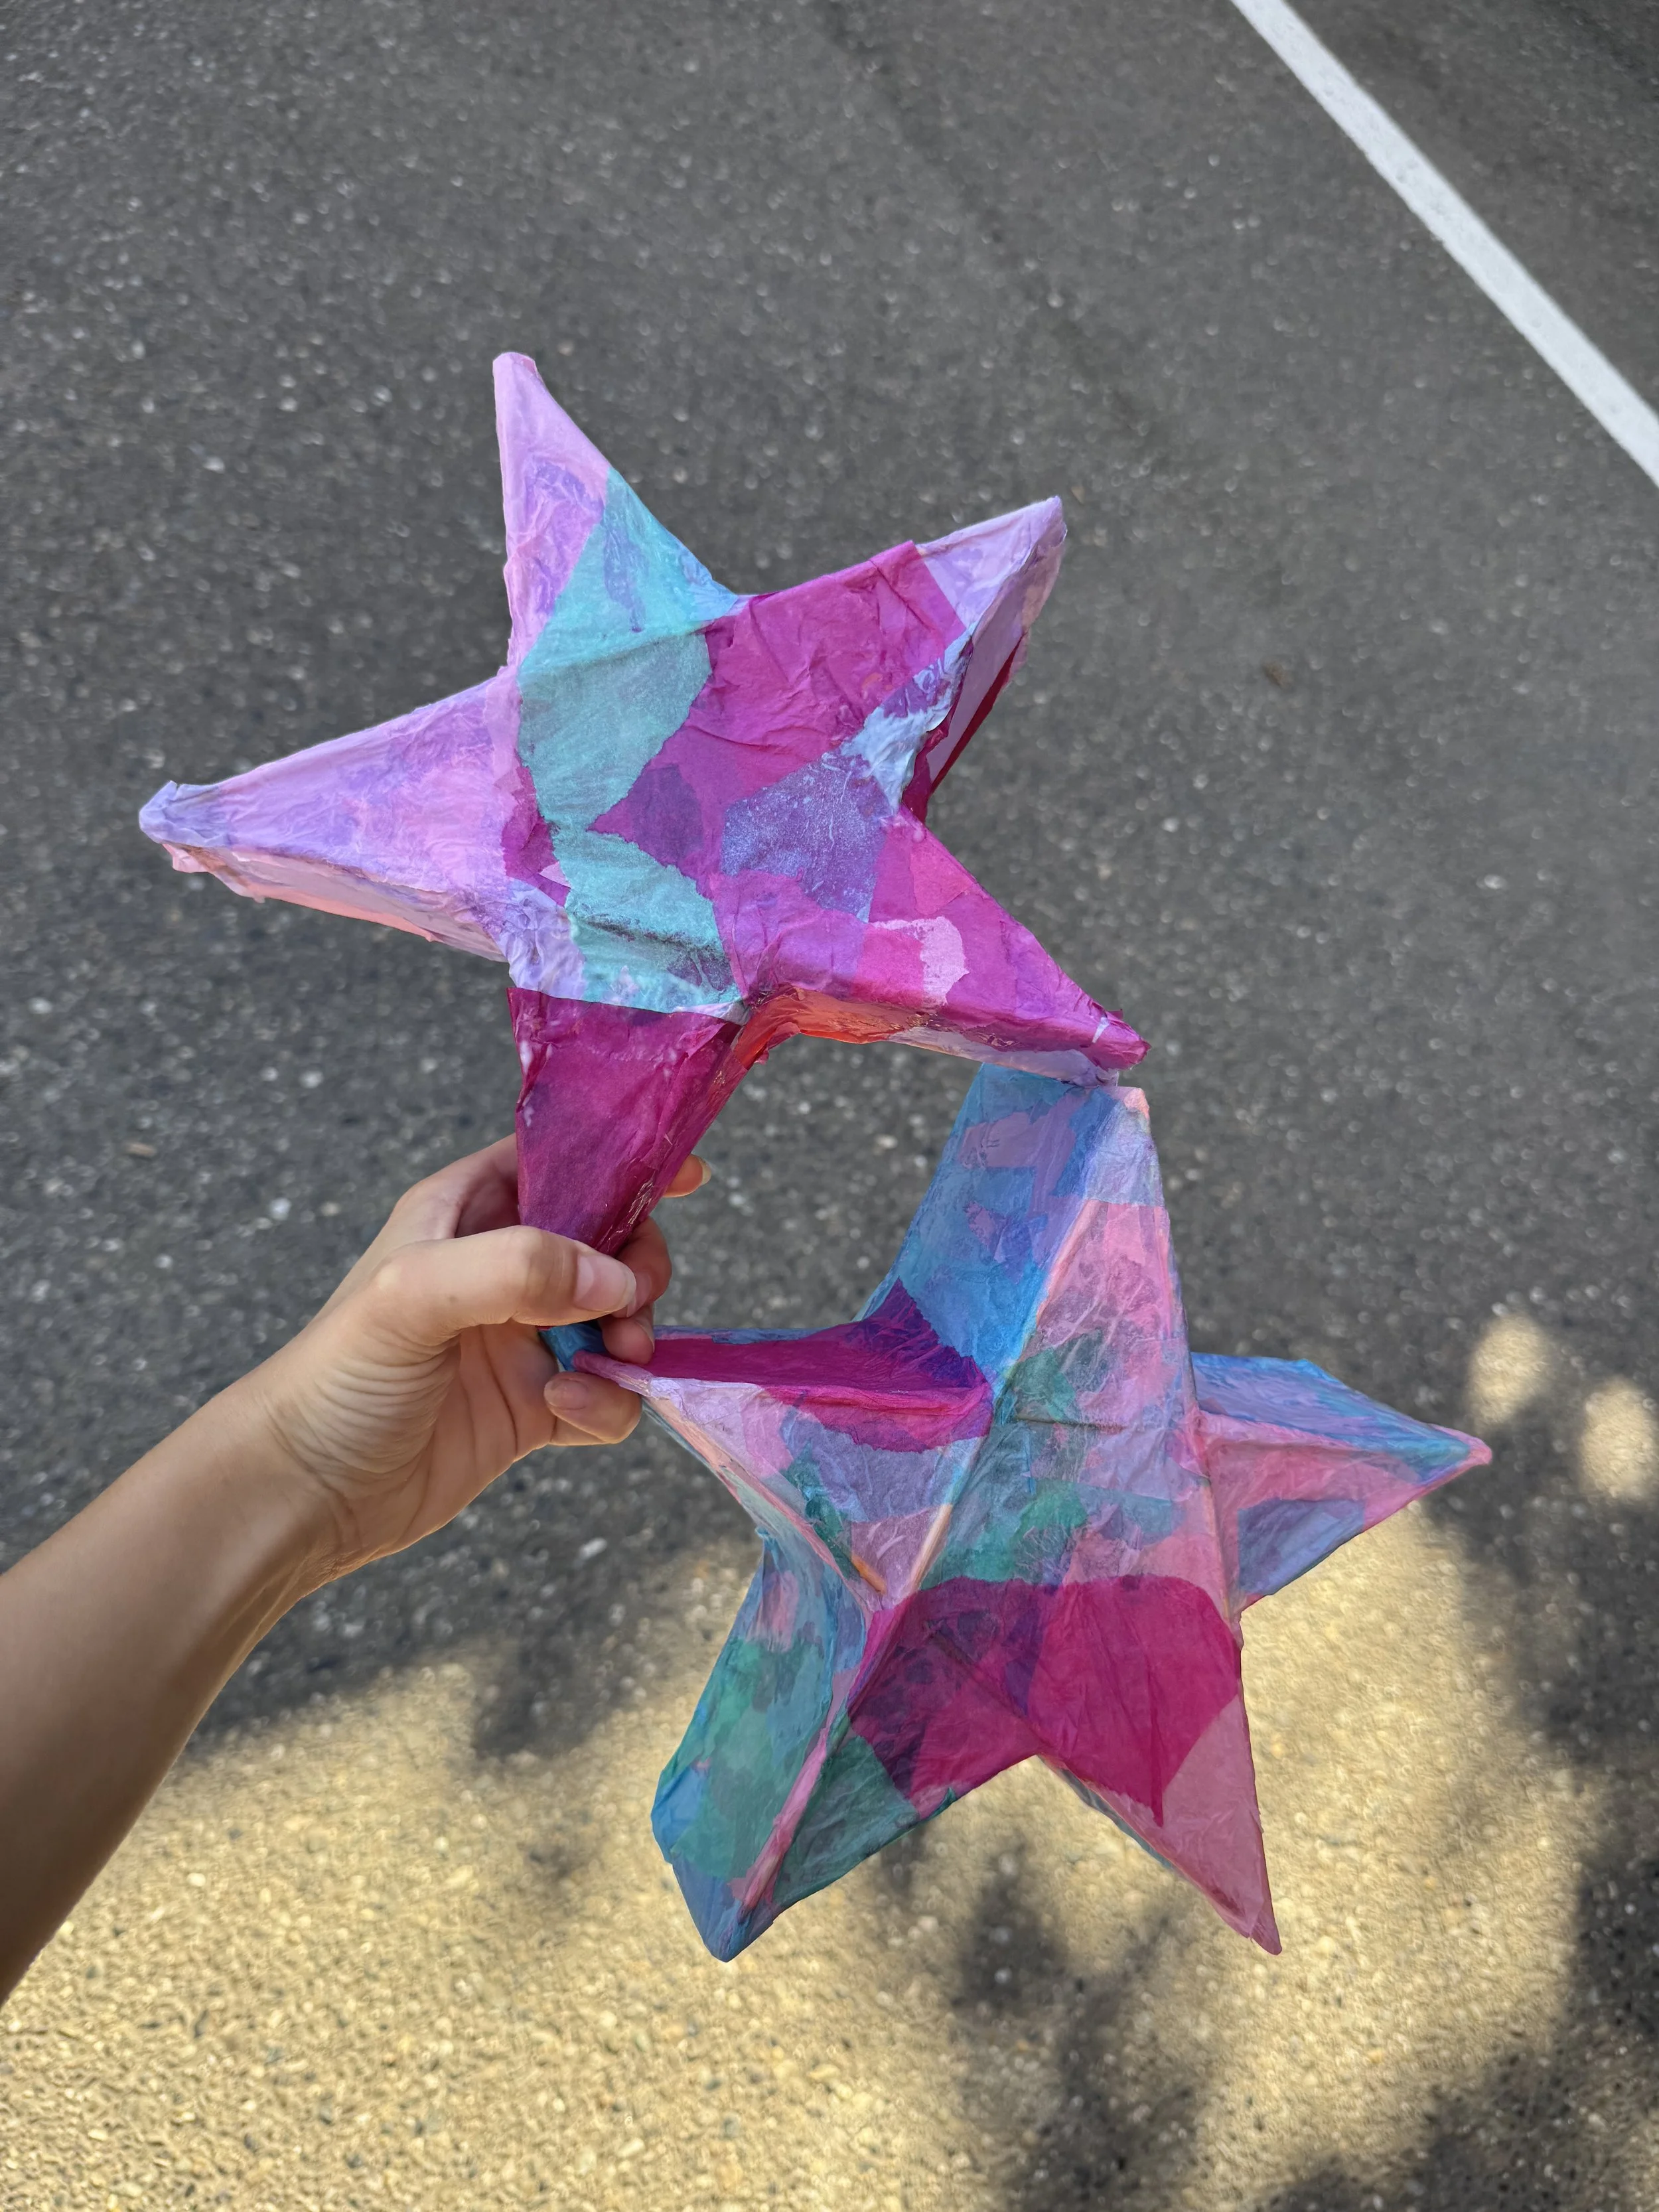
To celebrate the season’s longer nights, I created a lantern craft to share with the kids I teach. Around this time of year, I also love attending Luminata, Seattle’s Autumn Equinox lantern festival. In its spirit, I made one glowing star lantern for myself and another for a friend.
The supplies you will need for this craft are:
Tissue Paper
Wooden Skewers
Scissors
Hot Glue Gun + Glue
Liquid Glue + Water
A Cup + Paintbrush
Instructions
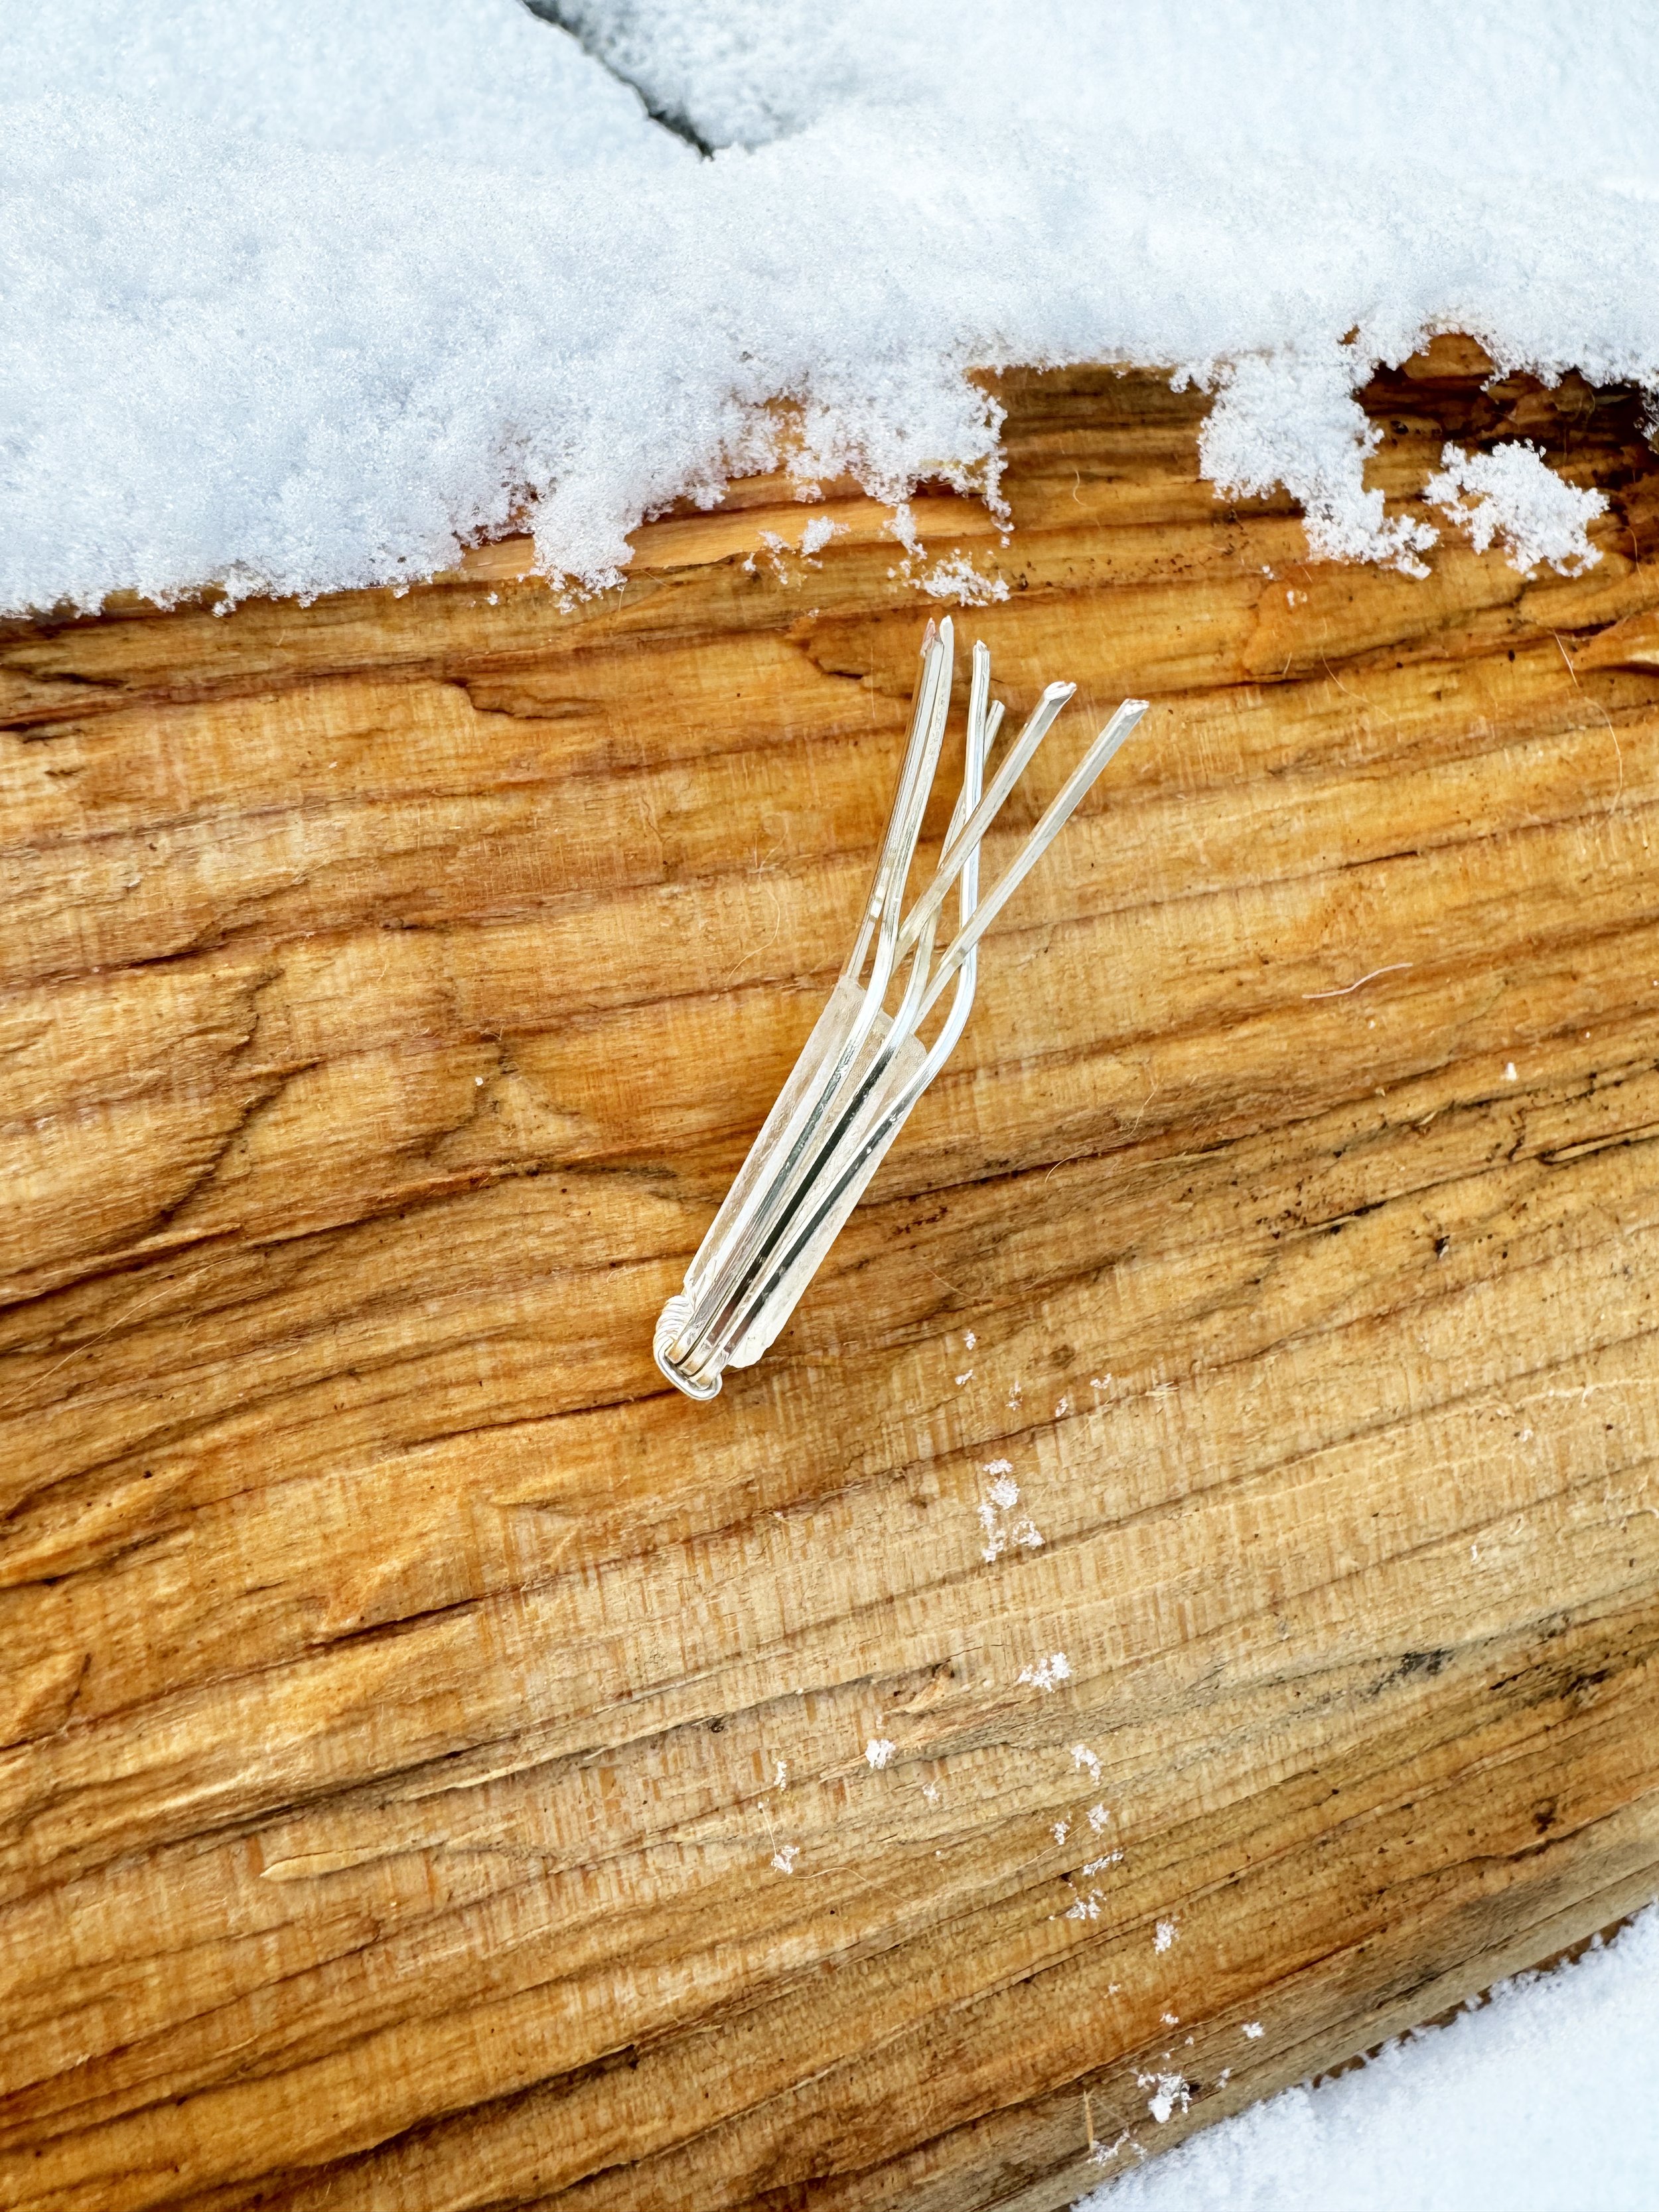
Step 1: Prepare the Skewers
Gather 12 wooden skewers and carefully cut off the sharp ends.
Take 2 skewers and cut them in half. Then cut those halves in half again—you’ll now have 8 short skewers.
Step 2: Build the First Star
Hot glue two full-length skewers together in a “V” shape.
Add two more skewers to the bottom of the V to start forming a star.
Glue the fifth skewer in place to complete the 5-point star shape.
Glue 5 of the short skewers upright to the tips of the star points.
With the 3 remaining short skewers, glue them across the center intersections for extra stability.
Step 3: Build the Second Star
Repeat steps 3–5 to make another 5-point star.
Place it on top of the first star, lining up the points, and glue the skewers together where they overlap.
You should now have a 3D star frame.
Step 4: Add the Tissue Paper
Cut tissue paper into manageable strips or pieces.
Glue a first layer of tissue paper onto the frame, covering each side of the star. (It’s easiest to use just one color for the base.)
Once dry, add a second layer using watered-down glue and a paintbrush, mixing in other colors if you’d like.
Step 5: Finish the Lantern
When you’re happy with the look, brush a final coat of watered-down glue over the whole star so the tissue lays smooth and secure.
Let it dry completely.


Star with the first layer of paper on it.
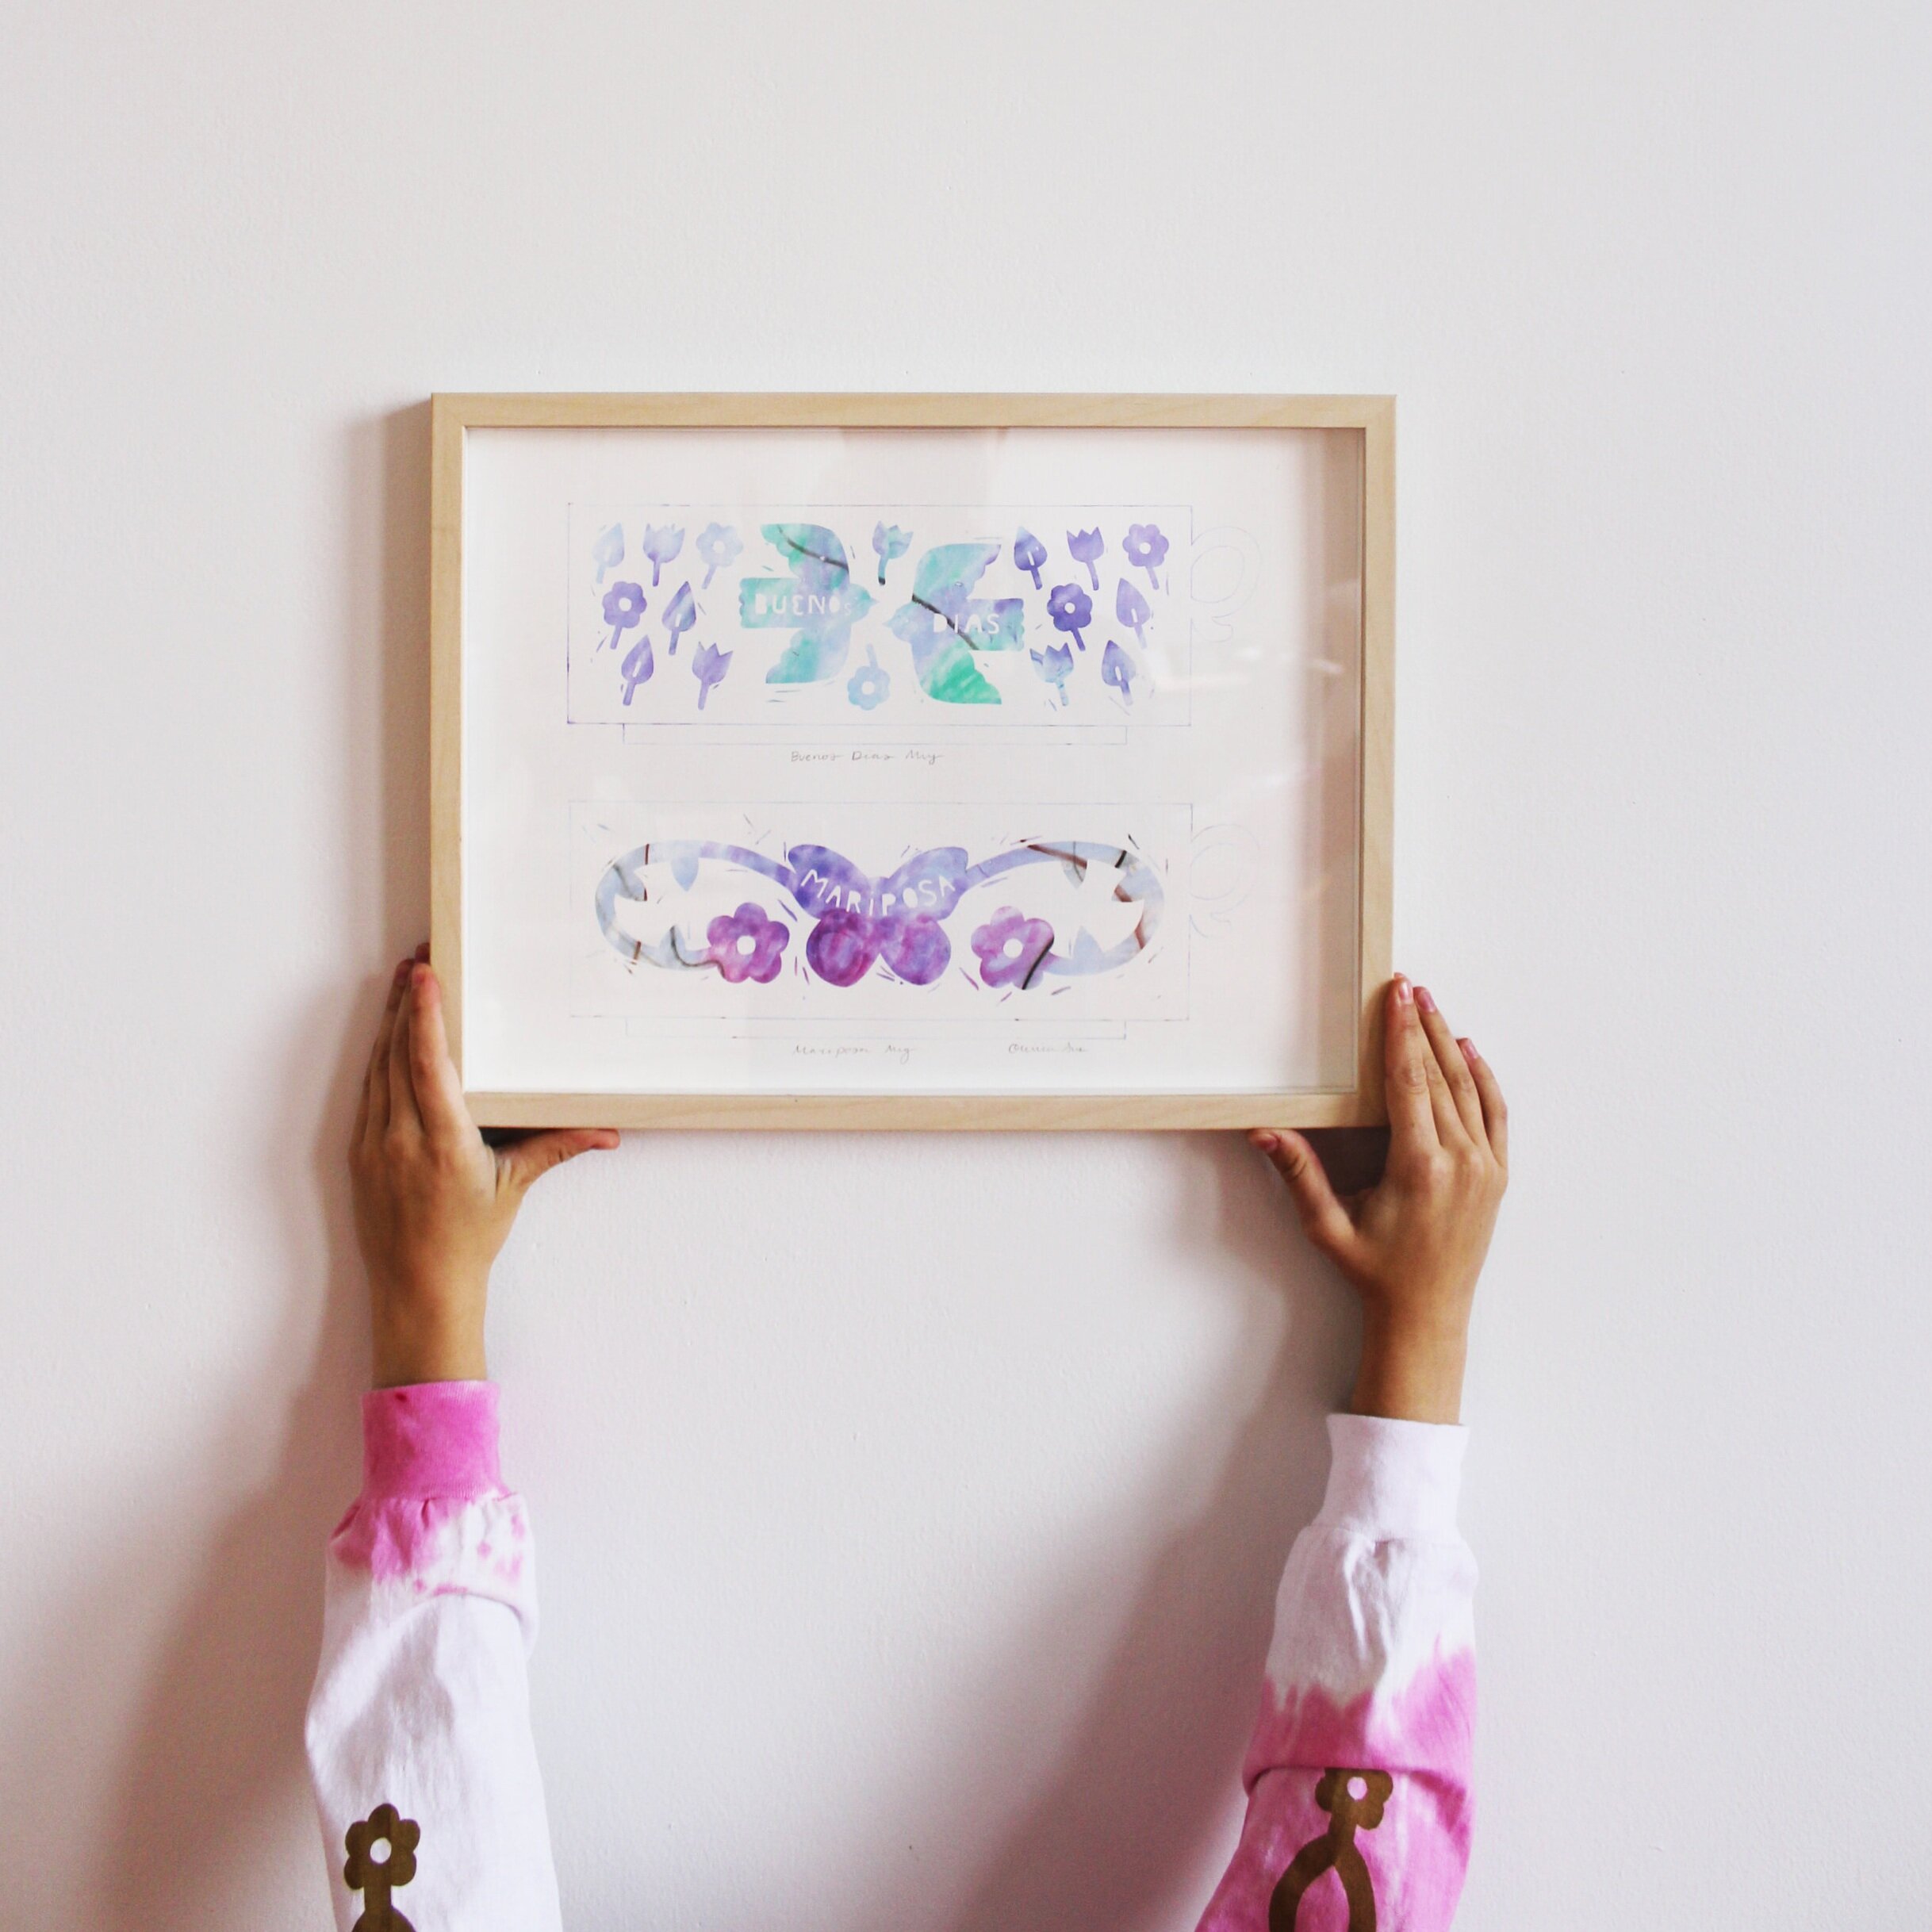
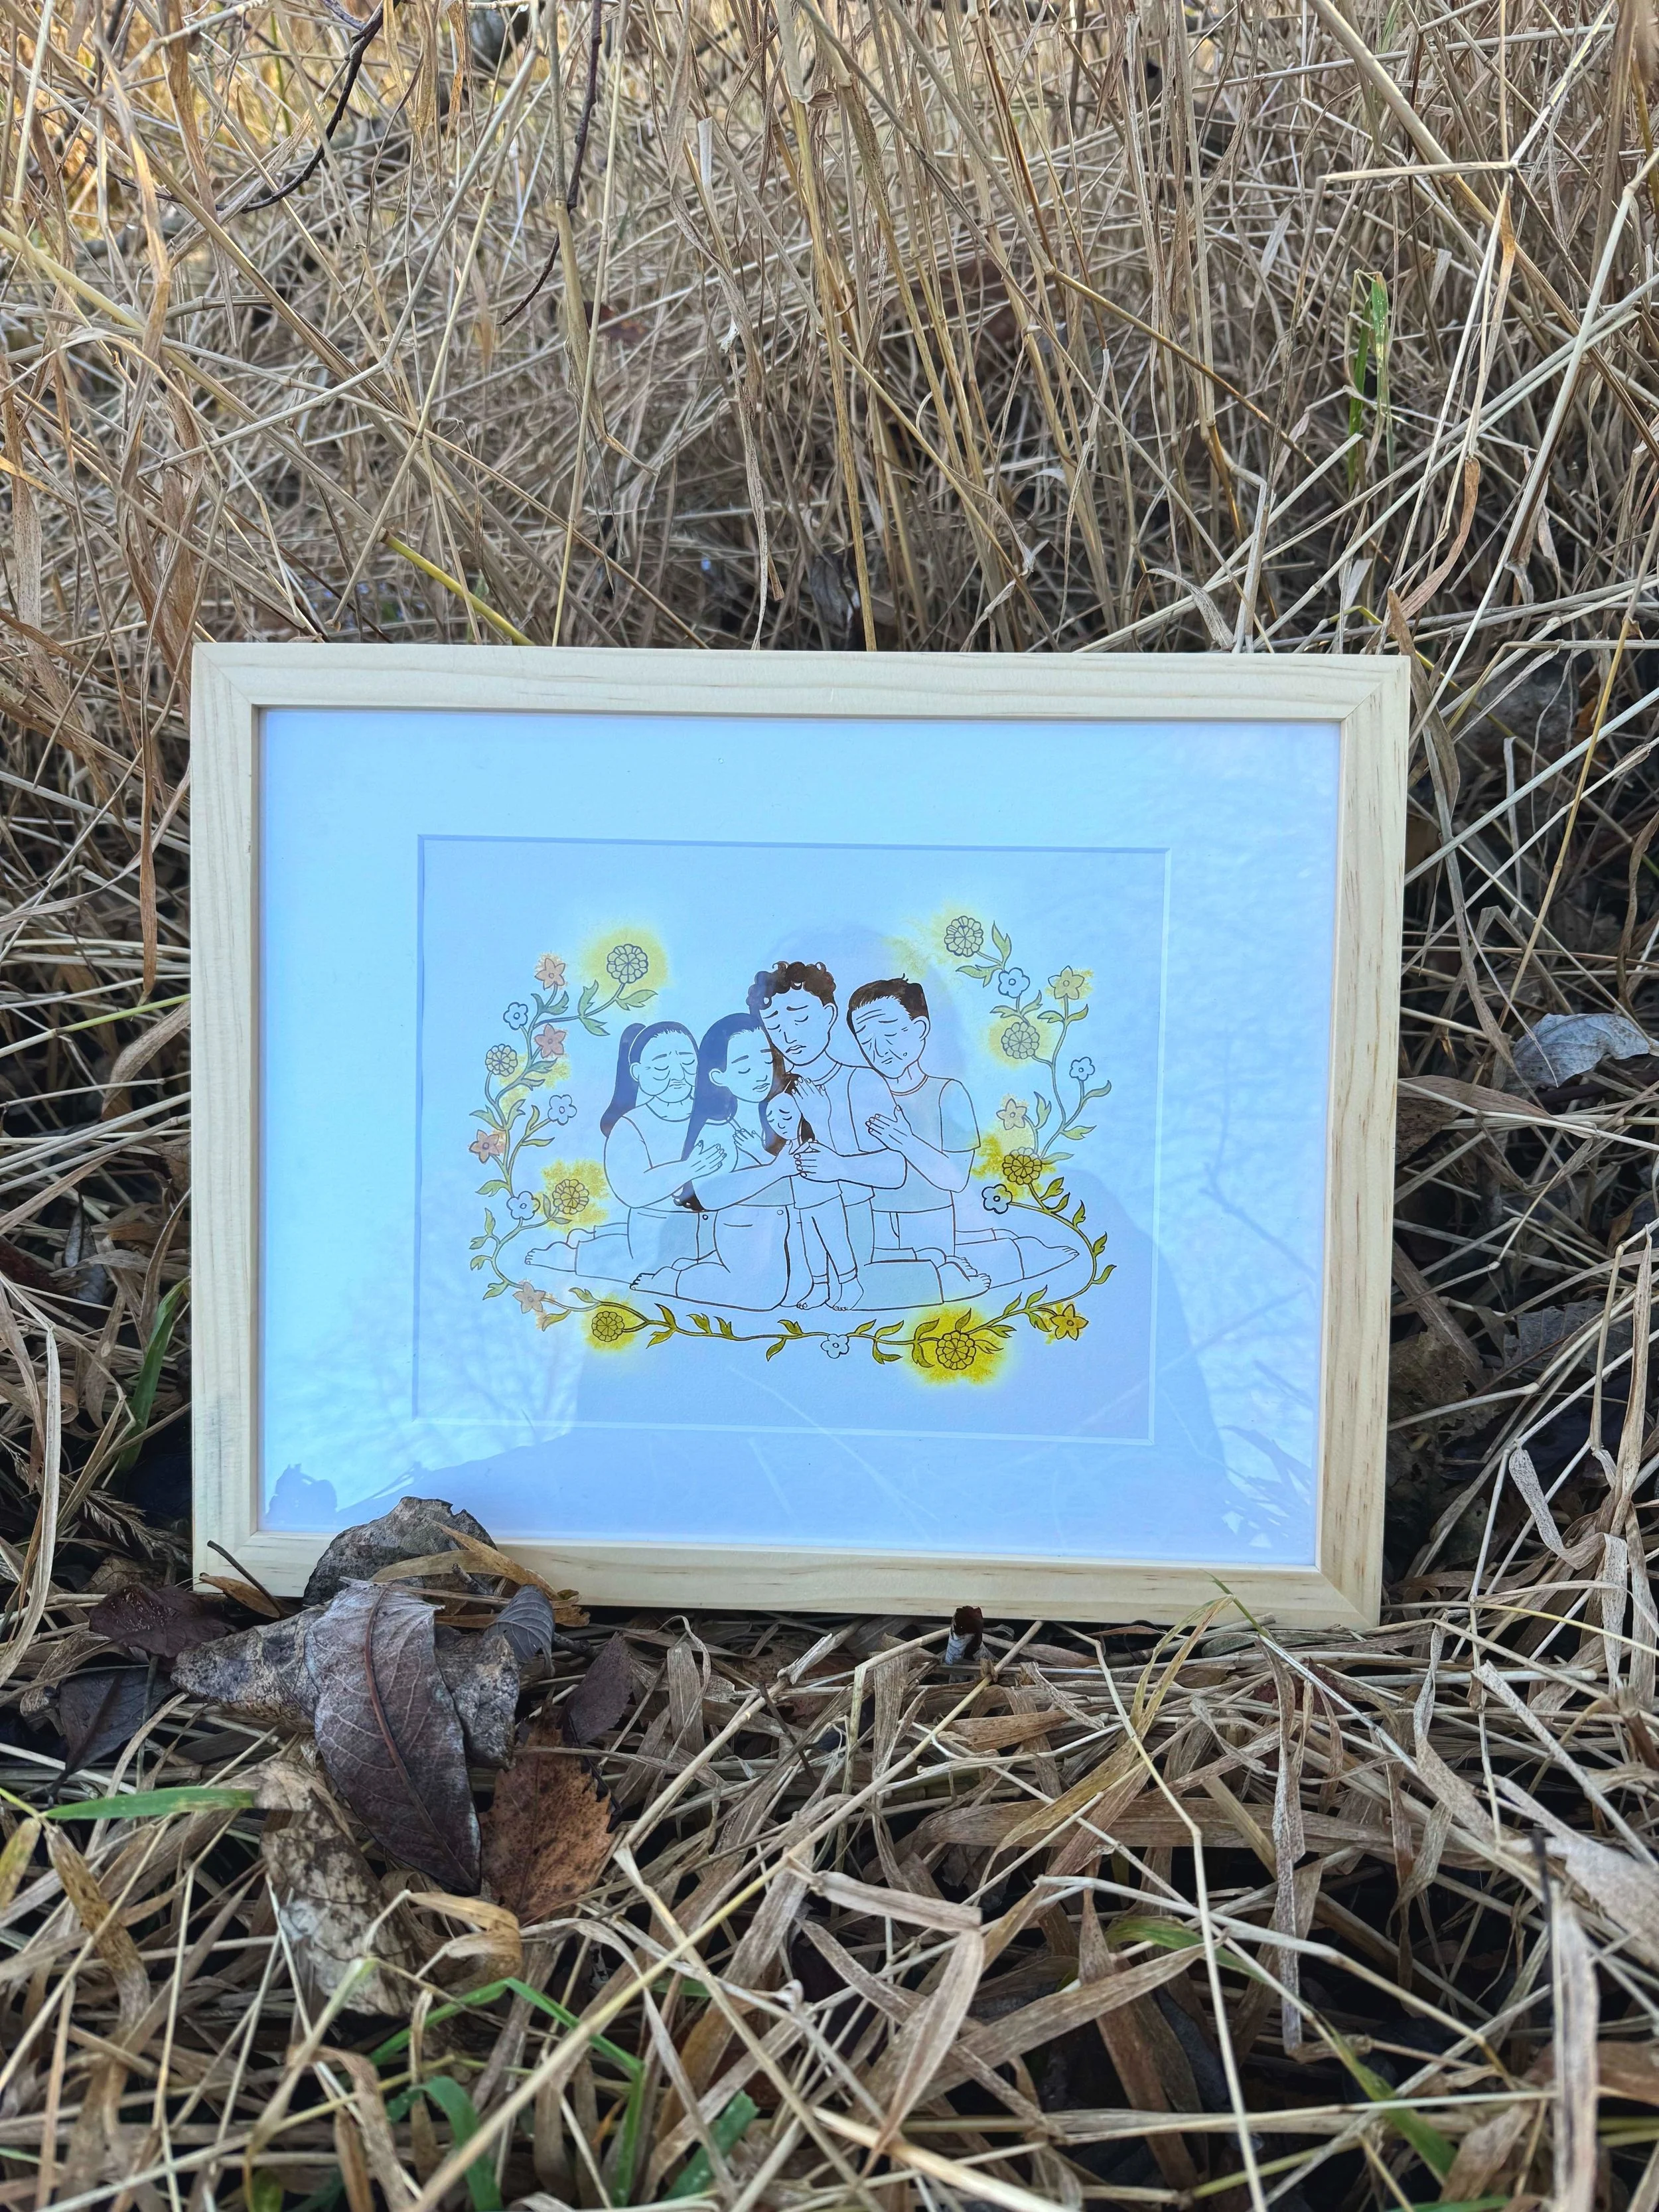
Student work.
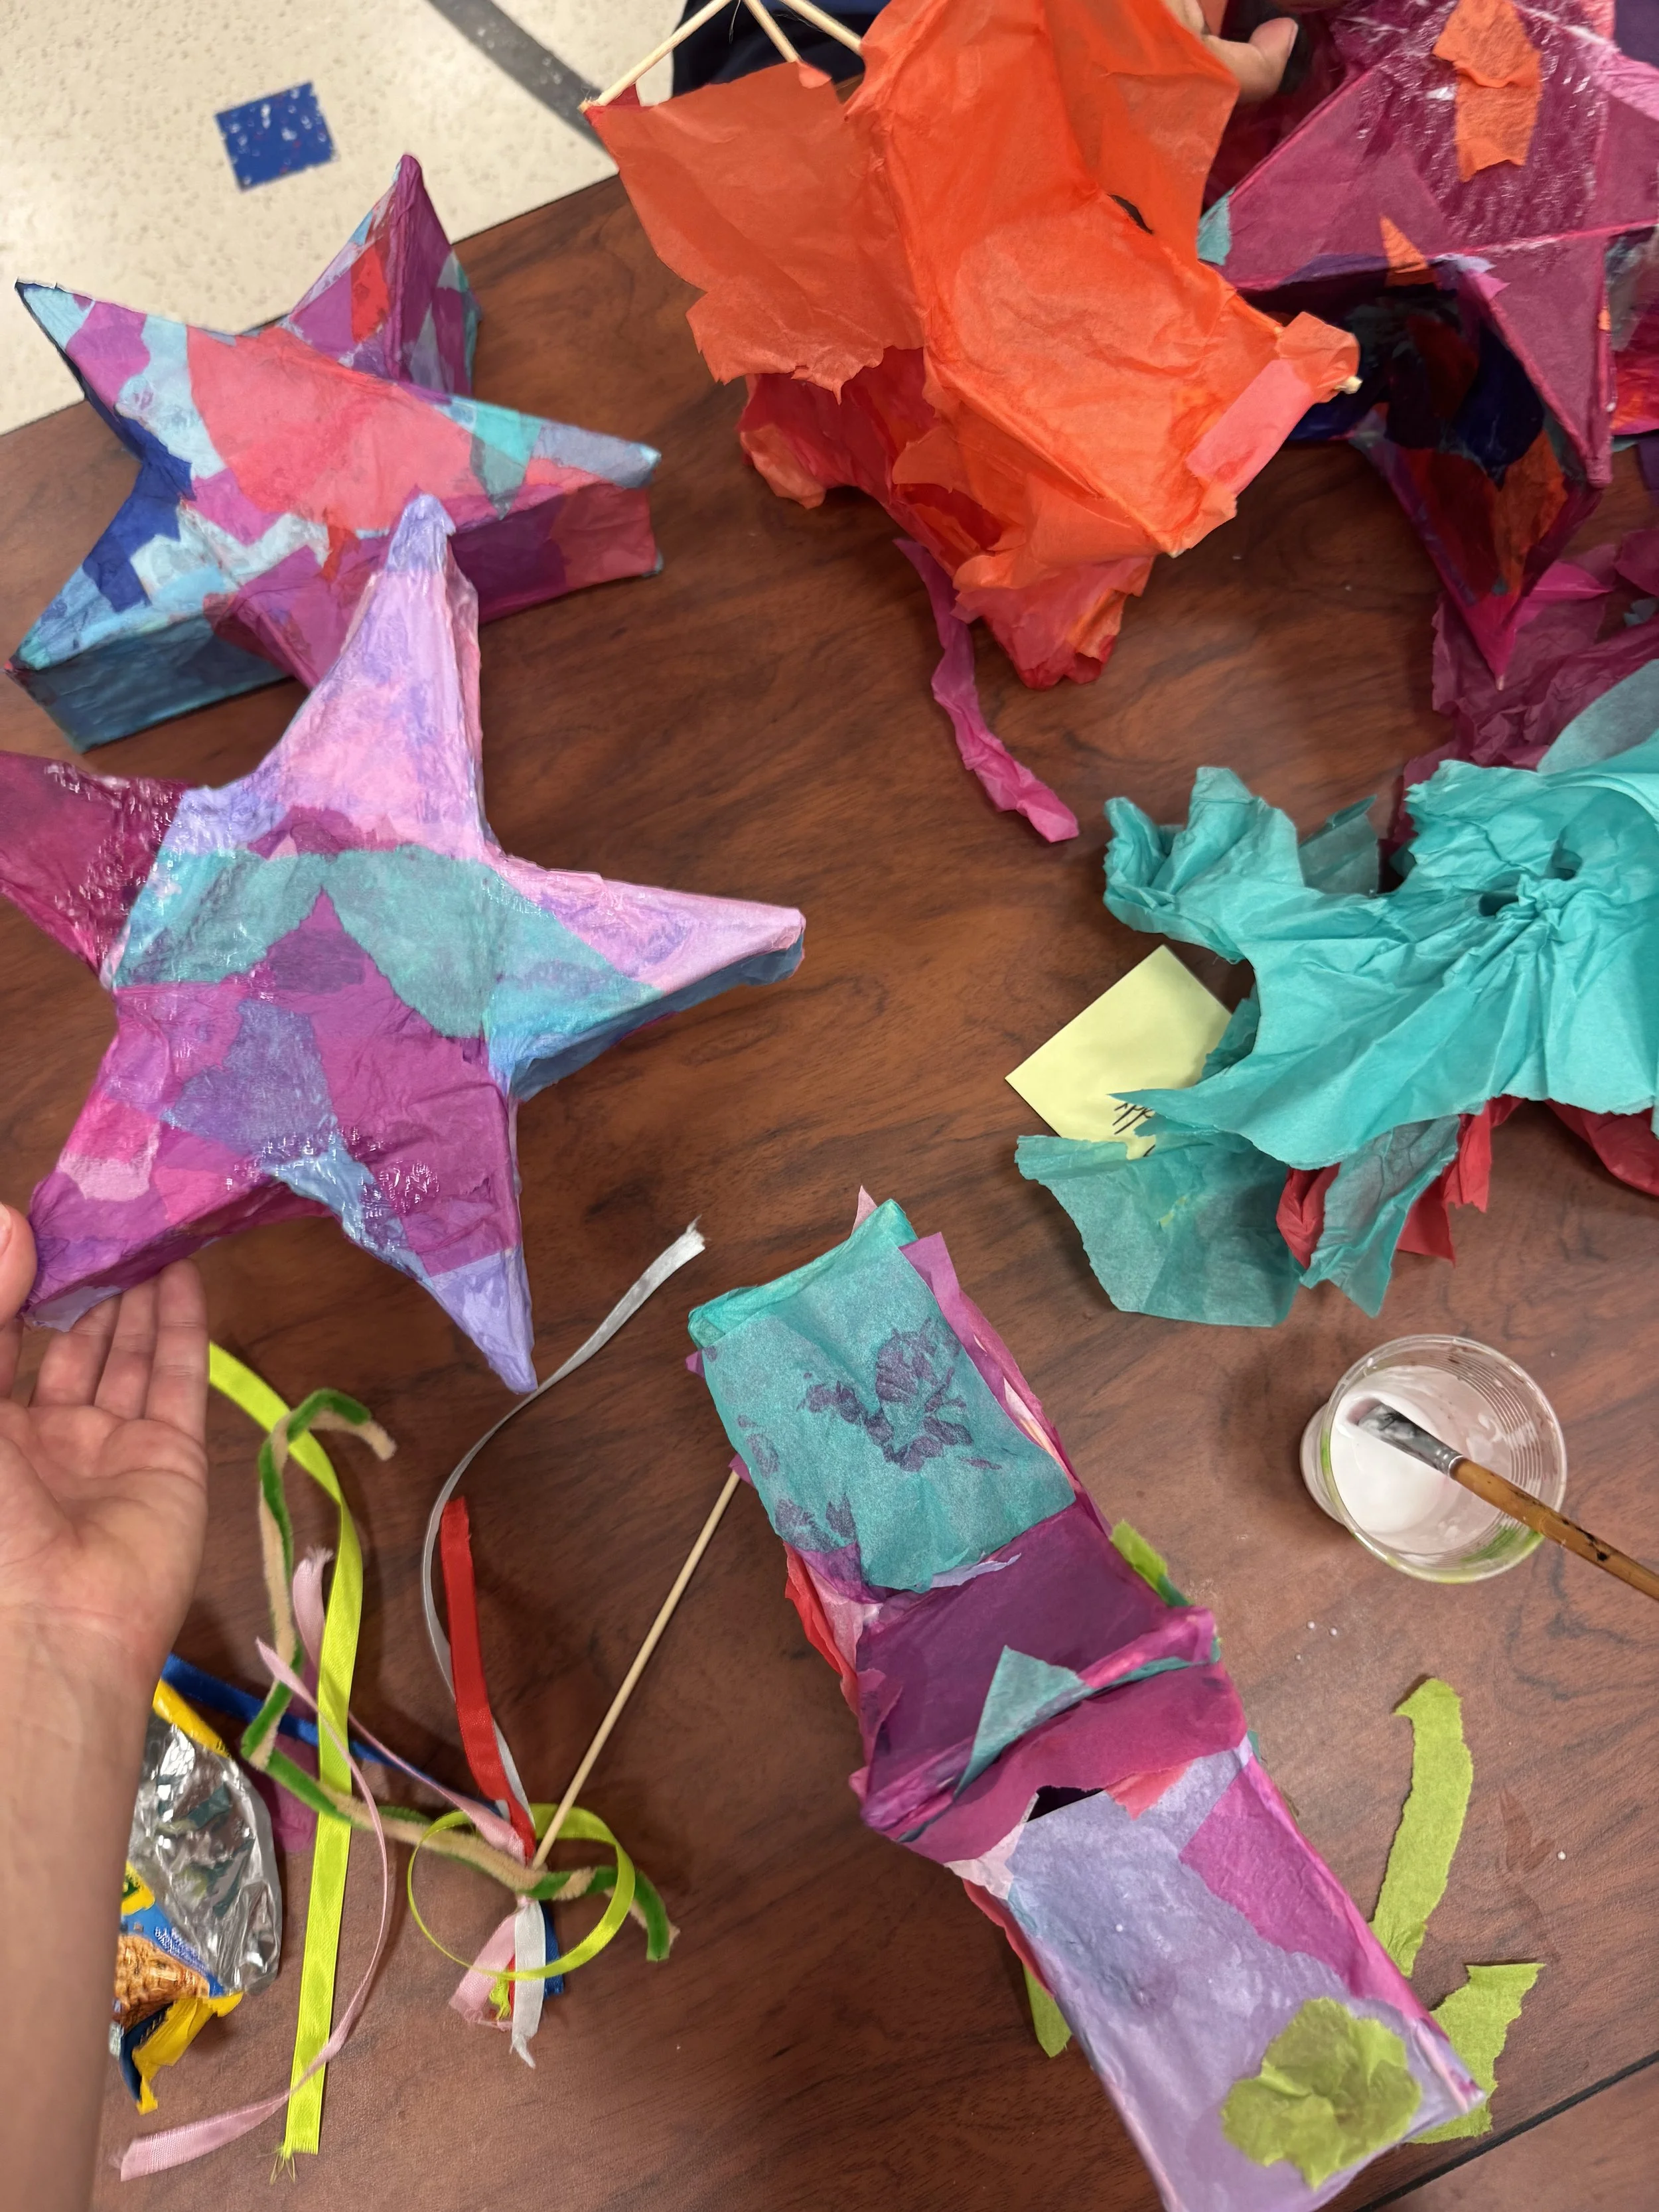
Stars in progress.

Working on mod-podging the second layer.

Student Work with tassel
Bonus Idea: Make a Tassel
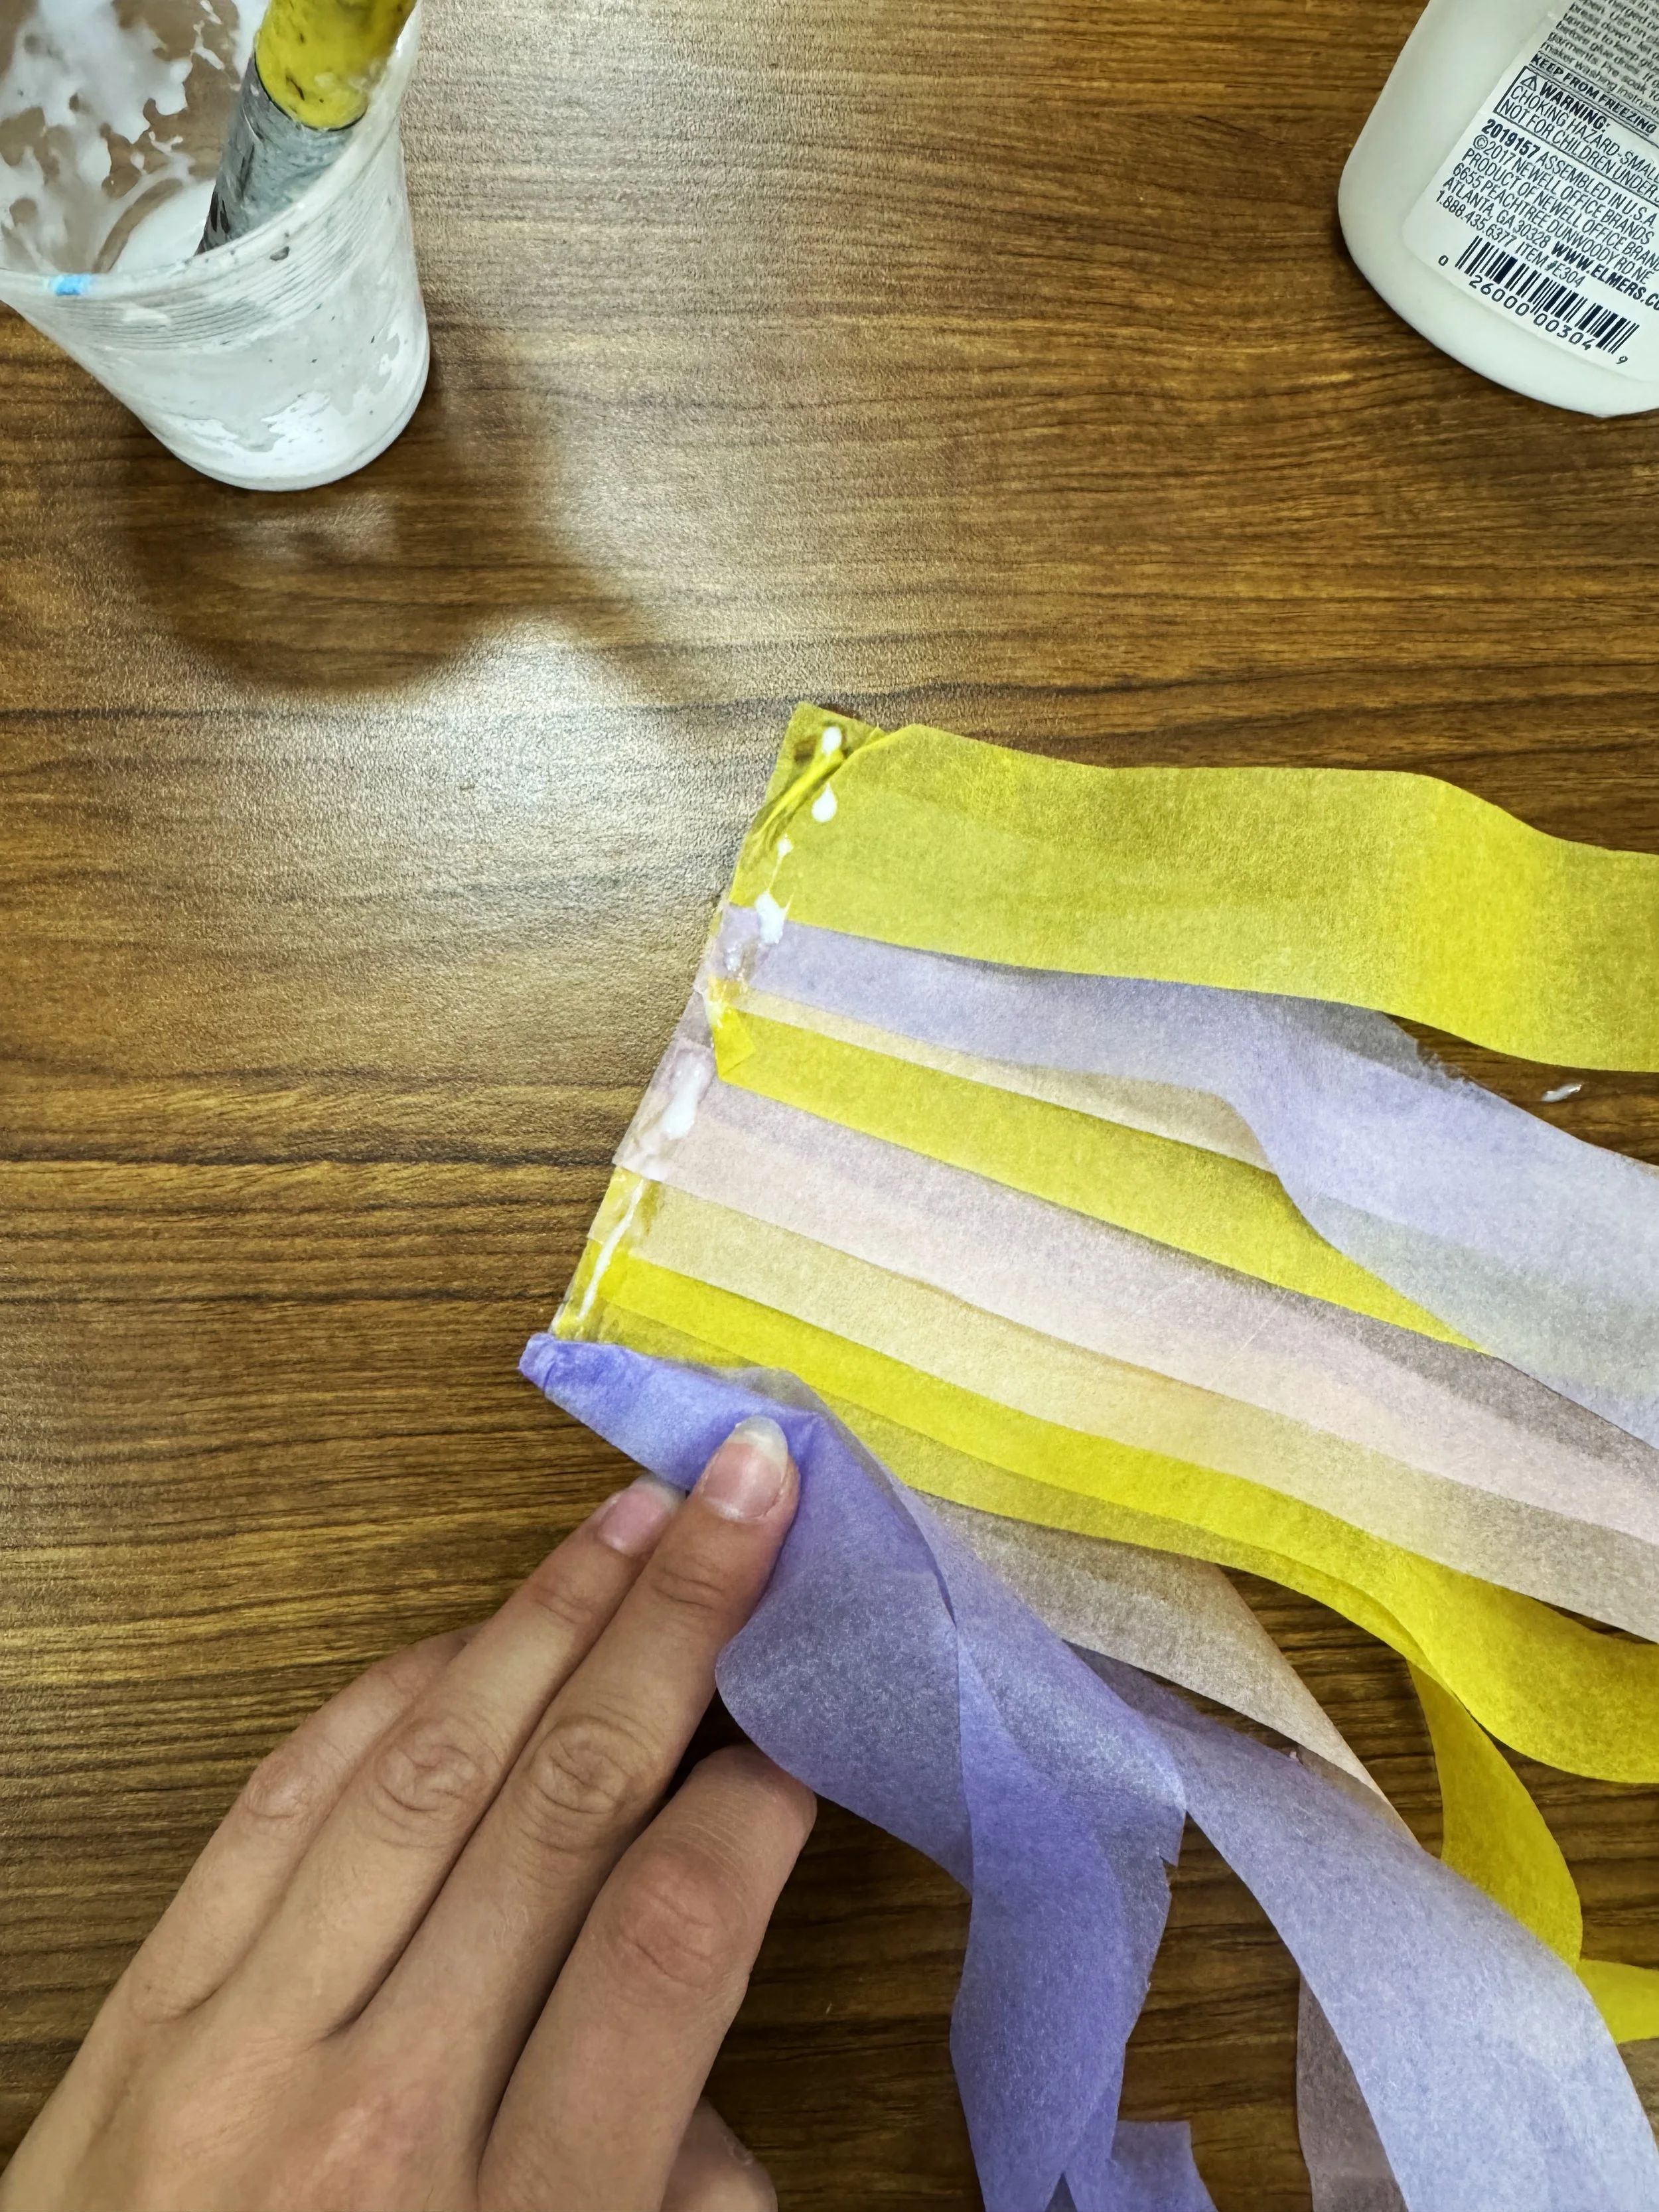
Cut 12 strips of tissue paper, all the same length.
Lay the strips out in a line, gluing each one halfway on top of the last as you go.
Once all strips are attached, run a line of glue across the top and roll them up tightly to form a tassel.
Use hot glue to secure the tassel to the bottom center of the star.